No edit summary Tag: apiedit |
(Undo revision 59618 by ThePizzaLord (talk)) Tag: rte-wysiwyg |
||
| Line 3: | Line 3: | ||
===Overview=== |
===Overview=== |
||
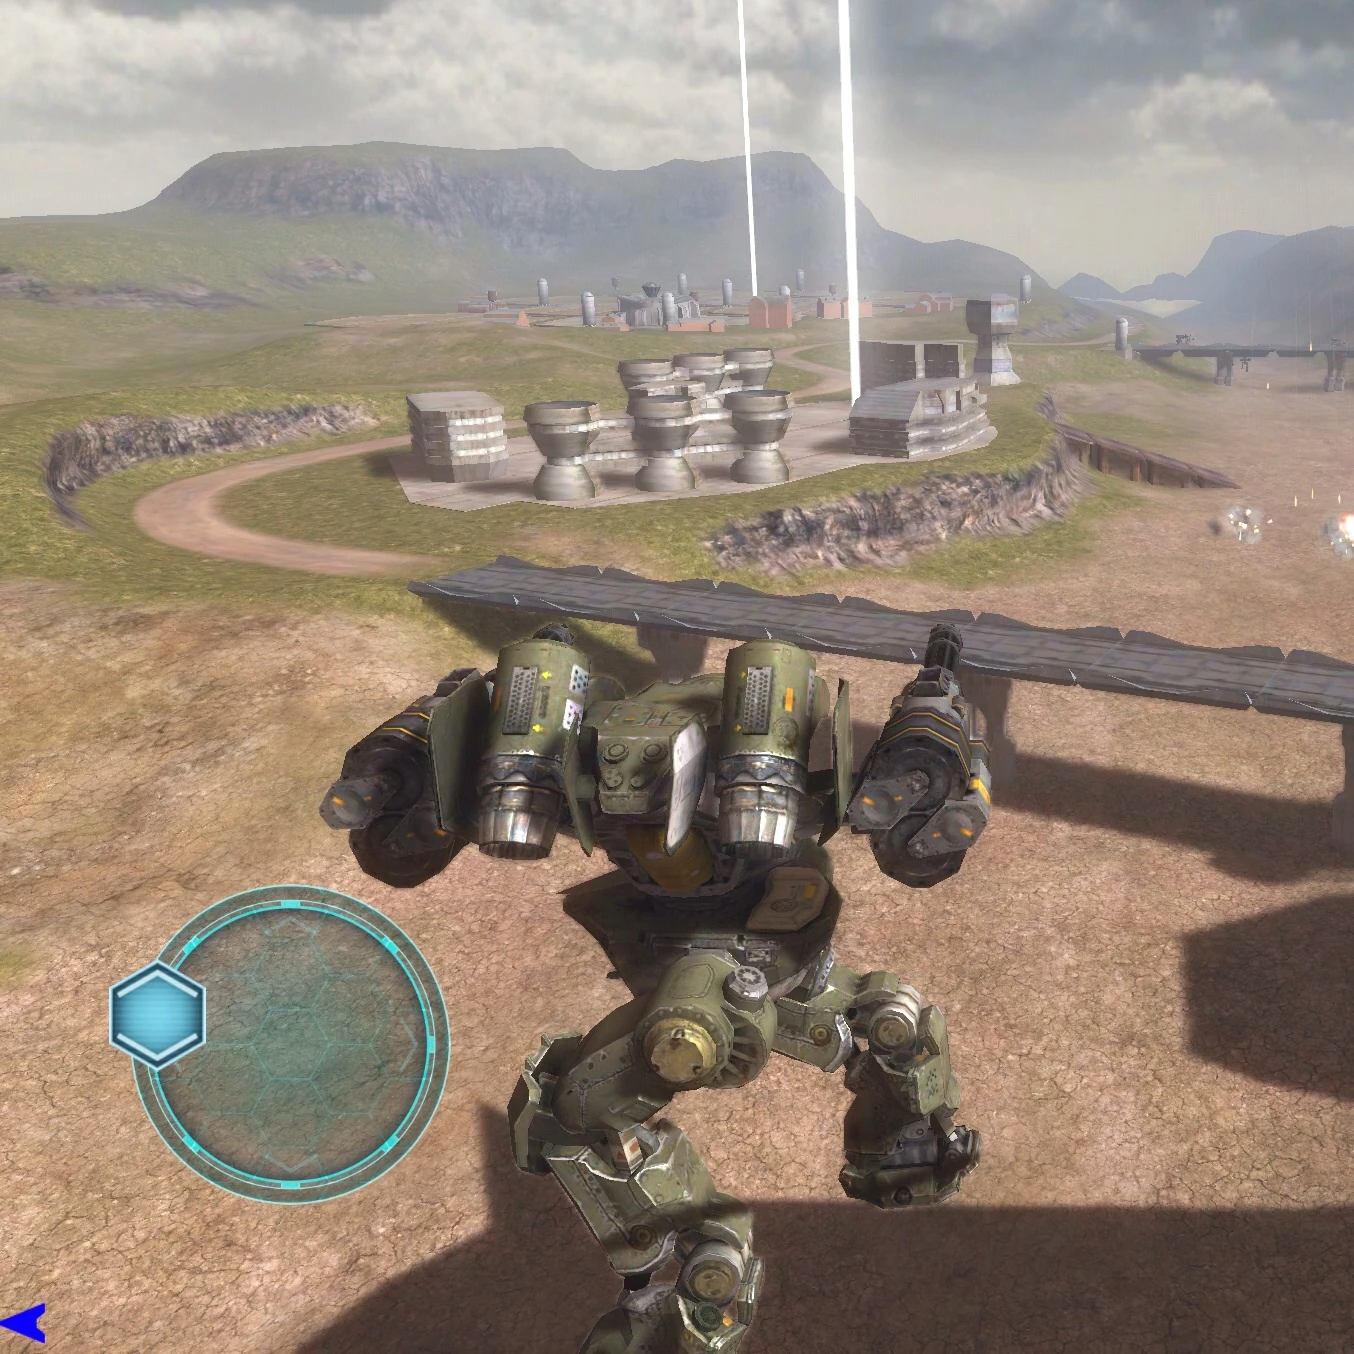
[[File:Springfield.jpg|thumb|right|260px|A Rogatka Jumping above the dam.]] |
[[File:Springfield.jpg|thumb|right|260px|A Rogatka Jumping above the dam.]] |
||
| − | The Springfield map is a large dried out dam area with three bridges, and a dry riverbed that divides the map in two. On the city side there are two beacons. One located within the city metropolis, the other in what looks like a port-side loading bay for ships. |
+ | The Springfield map is a large dried out dam area with three bridges, and a dry riverbed that divides the map in two. On the city side there are two beacons. One located within the city metropolis, the other in what looks like a port-side loading bay for ships. |
On the opposite side of the dried river the other three beacons are spread out amount open farmland. One beacon is stationed far in the corner of the map on an high-rise platform, from where the entire battlefield can be viewed. Another beacon is located among a small group of buildings that shield the beacon. The last beacon is located in a farm land area amongst some small buildings and silos. |
On the opposite side of the dried river the other three beacons are spread out amount open farmland. One beacon is stationed far in the corner of the map on an high-rise platform, from where the entire battlefield can be viewed. Another beacon is located among a small group of buildings that shield the beacon. The last beacon is located in a farm land area amongst some small buildings and silos. |
||
| Line 12: | Line 12: | ||
This is one of the spawn areas. A bridge extends across the dry bank towards the Metropolis area, and a road passes between the bridge and the Farm. The right most spawn point inside the Farm Area has a clear line of sight to the Shielded Farm area and the High Rise. |
This is one of the spawn areas. A bridge extends across the dry bank towards the Metropolis area, and a road passes between the bridge and the Farm. The right most spawn point inside the Farm Area has a clear line of sight to the Shielded Farm area and the High Rise. |
||
| − | A common tactic when starting from here is to rush and seize the High Rise and the Shielded beacons, as this gives their team three beacons. The Farm area and the River Bank possible spawn areas are the two best spots for slow-moving artillery robots to deploy, as they can swiftly cover a large area with support bombardment and heavy fire. |
+ | A common tactic when starting from here is to rush and seize the High Rise and the Shielded beacons, as this gives their team three beacons. The Farm area and the River Bank possible spawn areas are the two best spots for slow-moving artillery robots to deploy, as they can swiftly cover a large area with support bombardment and heavy fire. Bombardment to the High-rise, the Port-Bay, and the Shielded area is possible, with exceptions to the Metropolis. |
| − | From this beacon it is hard to be attacked from the Shielded beacon because they will be attacking downhill. The Metropolis is marginally better, however their is considerable cover for one to hide behind and pelt those coming from the bridge. |
+ | From this beacon it is hard to be attacked from the Shielded beacon because they will be attacking downhill. The Metropolis is marginally better, however their is considerable cover for one to hide behind and pelt those coming from the bridge. Once captured, unless there is no one guarding the Beacon the Farm Area is hard to attack once acquired. |
=== The Metropolis === |
=== The Metropolis === |
||
| − | Robots spawn across the back road, farthest away from the Port Bay and within 300 meters of the Metro Beacon. From here, the nearest spawn point is a toss up between the Farm area and the Port Bay, although the Farm Beacon is considerably easier to get to alive. |
+ | Robots spawn across the back road, farthest away from the Port Bay and within 300 meters of the Metro Beacon. From here, the nearest spawn point is a toss up between the Farm area and the Port Bay, although the Farm Beacon is considerably easier to get to alive. The surrounding buildings give more than decent cover and the twin towers facing the Metro-to-Farm Bridge allow some robots to shoot over cover without fear of damage. |
| − | The obvious peril is cross-fire from both the Farm and the Port-Bay as robots attempt to blitz across the |
+ | The obvious peril is cross-fire from both the Farm and the Port-Bay as robots attempt to blitz across the dry canal dividing the Metro and the Port-Bay. Furious fighting can be found here, and the tide of war can be turned at a moments notice. From the Metro side, it is difficult to forge a path across towards the Port-Bay, because of the very close cover that the Port-Bay provides for their forces. However, it is easier to aim and fire artillery from within the protection of the Metropolis. |
There is a caution with artillery here; it takes a prodigious amount of time to deploy a Fury or Natasha to fire upon the Shielded Beacon or the High Rise. |
There is a caution with artillery here; it takes a prodigious amount of time to deploy a Fury or Natasha to fire upon the Shielded Beacon or the High Rise. |
||
=== The Port-Bay === |
=== The Port-Bay === |
||
| − | The Port-Bay area hosts a number of large spires and small cover areas in the form of shipping containers. |
+ | The Port-Bay area hosts a number of large spires and small cover areas in the form of shipping containers. It possesses two bridges that lead to the High-Rise and the Shielded Beacon. The spawn area is located nearest to the High-Rise, and in direct contention to the Metropolis. From the beginning, it is possible to fire upon robots just spawning inside the Metropolis, if one has heavy weapons. |
The most common tactic is to forge across the bridge from the Port-Bay and seize the High Rise, then work from there. Most always, if two armies spawn in the Metro and Port, then they will fight in the Metro and Port. Sometimes, smart players wishing to seize Beacons quick and fast, will hop from the High rise, through the Shielded area, and towards the Farm. At this point, if one's army can hold the Shielded area, and the Port-Bay, then three Beacons will be under their control. |
The most common tactic is to forge across the bridge from the Port-Bay and seize the High Rise, then work from there. Most always, if two armies spawn in the Metro and Port, then they will fight in the Metro and Port. Sometimes, smart players wishing to seize Beacons quick and fast, will hop from the High rise, through the Shielded area, and towards the Farm. At this point, if one's army can hold the Shielded area, and the Port-Bay, then three Beacons will be under their control. |
||
| − | The biggest contention comes from the Metropolis, however it is slightly easier to defend from the Port. Beware as opponents may hop from the Shielded area and cross over the dry river. Although this may not have seemed a problem in the past, Griffins can skip the ramp up to the Port and being firing quickly. |
+ | The biggest contention comes from the Metropolis, however it is slightly easier to defend from the Port. Beware as opponents may hop from the Shielded area and cross over the dry river. Although this may not have seemed a problem in the past, Griffins can skip the ramp up to the Port and being firing quickly. Also, the Port Bay is vulnerable to fire from the Farm area, as this is a perfect target for snipers and artillery. |
=== The Shield === |
=== The Shield === |
||
The Beacon itself is not a spawn area, however one can spawn near the back canyon wall next to the Beacon. It features one or two large curved buildings that attempt to provide cover from the Farm, the Metro, the Port, and the High Rise. Being the third Beacon, on one side, most strategic battles will be fought and won in the Shield. |
The Beacon itself is not a spawn area, however one can spawn near the back canyon wall next to the Beacon. It features one or two large curved buildings that attempt to provide cover from the Farm, the Metro, the Port, and the High Rise. Being the third Beacon, on one side, most strategic battles will be fought and won in the Shield. |
||
| − | Depending on where one spawns, the method of defending the Shield is difficult to determine. Simply stacking players there to defend will not last long, if the enemy begins to advance across the riverbed. |
+ | Depending on where one spawns, the method of defending the Shield is difficult to determine. Simply stacking players there to defend will not last long, if the enemy begins to advance across the riverbed. Additionally, if the enemy has control of the Farm, then defense becomes an issue of whether or not the enemy has control of the Metropolis as well. |
It is very easy to become pinned and hemmed in under fire from two directions. Therefore, it is a sound tactic to eliminate one of the areas where potential fire can come from. Either holding the Port and the Shield is a sound tactic, as this prevents the enemy from reaching the High Rise. From the other direction, defending the Metropolis and the Shield leaves the Farm open. It is difficult for players to get from the Farm to the Metropolis for defense, so this tactic only works if that defense can hold. |
It is very easy to become pinned and hemmed in under fire from two directions. Therefore, it is a sound tactic to eliminate one of the areas where potential fire can come from. Either holding the Port and the Shield is a sound tactic, as this prevents the enemy from reaching the High Rise. From the other direction, defending the Metropolis and the Shield leaves the Farm open. It is difficult for players to get from the Farm to the Metropolis for defense, so this tactic only works if that defense can hold. |
||
| Line 48: | Line 48: | ||
== Trivia == |
== Trivia == |
||
* There is an "easter egg" bot believed to be the elusive and greatly anticipated bot "[[Bastion]]" hidden inside a structure with half opened doors located in the platform housing [[Beacon]] "B". The structure is to the right of the beacon "B" when spawning at this location. (''This claim has not been validated by Pixonic and is strictly a WWR fan assumption; such model could be an earlier concept of Bastion or a completely different mech in development).'' |
* There is an "easter egg" bot believed to be the elusive and greatly anticipated bot "[[Bastion]]" hidden inside a structure with half opened doors located in the platform housing [[Beacon]] "B". The structure is to the right of the beacon "B" when spawning at this location. (''This claim has not been validated by Pixonic and is strictly a WWR fan assumption; such model could be an earlier concept of Bastion or a completely different mech in development).'' |
||
| − | * The bot is believed to be the |
+ | * The bot is believed to be the Fujin, as the easter egg apparently was removed after the reveal of the Fuijin, and the easter egg does closely resemble it. |
[[File:BastionT6-0.png|thumb|292x292px]] |
[[File:BastionT6-0.png|thumb|292x292px]] |
||
Revision as of 01:48, 26 April 2016
Springfield (Map)
Overview
A Rogatka Jumping above the dam.
The Springfield map is a large dried out dam area with three bridges, and a dry riverbed that divides the map in two. On the city side there are two beacons. One located within the city metropolis, the other in what looks like a port-side loading bay for ships.
On the opposite side of the dried river the other three beacons are spread out amount open farmland. One beacon is stationed far in the corner of the map on an high-rise platform, from where the entire battlefield can be viewed. Another beacon is located among a small group of buildings that shield the beacon. The last beacon is located in a farm land area amongst some small buildings and silos.
Topography and Tactics
The Farm Area
This is one of the spawn areas. A bridge extends across the dry bank towards the Metropolis area, and a road passes between the bridge and the Farm. The right most spawn point inside the Farm Area has a clear line of sight to the Shielded Farm area and the High Rise.
A common tactic when starting from here is to rush and seize the High Rise and the Shielded beacons, as this gives their team three beacons. The Farm area and the River Bank possible spawn areas are the two best spots for slow-moving artillery robots to deploy, as they can swiftly cover a large area with support bombardment and heavy fire. Bombardment to the High-rise, the Port-Bay, and the Shielded area is possible, with exceptions to the Metropolis.
From this beacon it is hard to be attacked from the Shielded beacon because they will be attacking downhill. The Metropolis is marginally better, however their is considerable cover for one to hide behind and pelt those coming from the bridge. Once captured, unless there is no one guarding the Beacon the Farm Area is hard to attack once acquired.
The Metropolis
Robots spawn across the back road, farthest away from the Port Bay and within 300 meters of the Metro Beacon. From here, the nearest spawn point is a toss up between the Farm area and the Port Bay, although the Farm Beacon is considerably easier to get to alive. The surrounding buildings give more than decent cover and the twin towers facing the Metro-to-Farm Bridge allow some robots to shoot over cover without fear of damage.
The obvious peril is cross-fire from both the Farm and the Port-Bay as robots attempt to blitz across the dry canal dividing the Metro and the Port-Bay. Furious fighting can be found here, and the tide of war can be turned at a moments notice. From the Metro side, it is difficult to forge a path across towards the Port-Bay, because of the very close cover that the Port-Bay provides for their forces. However, it is easier to aim and fire artillery from within the protection of the Metropolis.
There is a caution with artillery here; it takes a prodigious amount of time to deploy a Fury or Natasha to fire upon the Shielded Beacon or the High Rise.
The Port-Bay
The Port-Bay area hosts a number of large spires and small cover areas in the form of shipping containers. It possesses two bridges that lead to the High-Rise and the Shielded Beacon. The spawn area is located nearest to the High-Rise, and in direct contention to the Metropolis. From the beginning, it is possible to fire upon robots just spawning inside the Metropolis, if one has heavy weapons.
The most common tactic is to forge across the bridge from the Port-Bay and seize the High Rise, then work from there. Most always, if two armies spawn in the Metro and Port, then they will fight in the Metro and Port. Sometimes, smart players wishing to seize Beacons quick and fast, will hop from the High rise, through the Shielded area, and towards the Farm. At this point, if one's army can hold the Shielded area, and the Port-Bay, then three Beacons will be under their control.
The biggest contention comes from the Metropolis, however it is slightly easier to defend from the Port. Beware as opponents may hop from the Shielded area and cross over the dry river. Although this may not have seemed a problem in the past, Griffins can skip the ramp up to the Port and being firing quickly. Also, the Port Bay is vulnerable to fire from the Farm area, as this is a perfect target for snipers and artillery.
The Shield
The Beacon itself is not a spawn area, however one can spawn near the back canyon wall next to the Beacon. It features one or two large curved buildings that attempt to provide cover from the Farm, the Metro, the Port, and the High Rise. Being the third Beacon, on one side, most strategic battles will be fought and won in the Shield.
Depending on where one spawns, the method of defending the Shield is difficult to determine. Simply stacking players there to defend will not last long, if the enemy begins to advance across the riverbed. Additionally, if the enemy has control of the Farm, then defense becomes an issue of whether or not the enemy has control of the Metropolis as well.
It is very easy to become pinned and hemmed in under fire from two directions. Therefore, it is a sound tactic to eliminate one of the areas where potential fire can come from. Either holding the Port and the Shield is a sound tactic, as this prevents the enemy from reaching the High Rise. From the other direction, defending the Metropolis and the Shield leaves the Farm open. It is difficult for players to get from the Farm to the Metropolis for defense, so this tactic only works if that defense can hold.
The High-Rise
Unlike the other four, this Beacon is very small and seems insignificant. However, in most matches, it is the difference of having three Beacons or having two. Because many players attempt to seize this Beacon from the beginning, this is the site of small skirmish battles. It overlooks the Shield, the Port, and the entire riverbed.
Cossacks are very common in taking this from either the Port or the Farm spawn, however there is a spawn pattern where the armies will spawn on opposite ends of the riverbed. From this point, taking the High Rise with an artillery piece becomes considerably easier and more practical. As this Beacon commands much of the riverbed and a good height, defense of this Beacon relies on the ability of the defender to spot and eliminate advancing foes. This is not easy, if the defender is a Cossack and the attacker is a GL Patton or a Griffin.
Attack from the Farm, the Port, and the Shield should be expected. Often, this Beacon will change hands rapidly as each army attacks and is shoved off of the Beacon. If this is the case, then holding this Beacon becomes impossible and a waste of a good robot. That is why it is important to hold the Shield in conjunction with the rear two Beacons on either side, because one cannot expect to defend the High-Rise without many casualties.
Trivia
- There is an "easter egg" bot believed to be the elusive and greatly anticipated bot "Bastion" hidden inside a structure with half opened doors located in the platform housing Beacon "B". The structure is to the right of the beacon "B" when spawning at this location. (This claim has not been validated by Pixonic and is strictly a WWR fan assumption; such model could be an earlier concept of Bastion or a completely different mech in development).
- The bot is believed to be the Fujin, as the easter egg apparently was removed after the reveal of the Fuijin, and the easter egg does closely resemble it.